




A skeleton can look convincing with a small palette. You mainly need enough contrast to separate the skull, ribs, hands, and limbs. This suggested recipe uses warm bone tones and a restrained amount of shading, leaving room to add personality through shields and equipment.
Choose one test miniature
Start with a prepared, primed figure rather than the entire group. Choose a warm ivory or pale beige for the main bone, a brown miniature wash for recesses, and a lighter ivory for accents. Follow the paint maker's preparation and drying instructions.
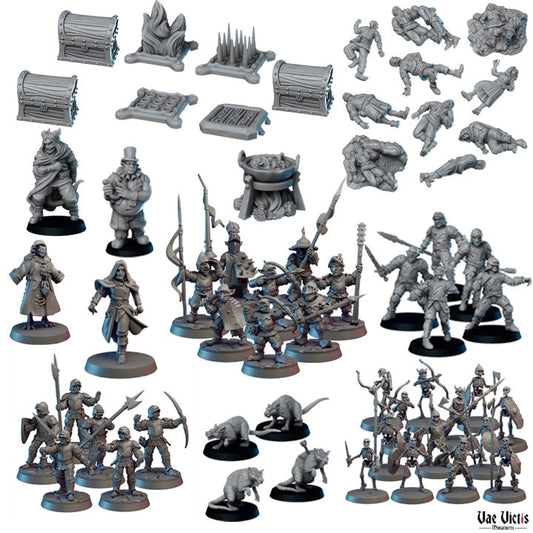
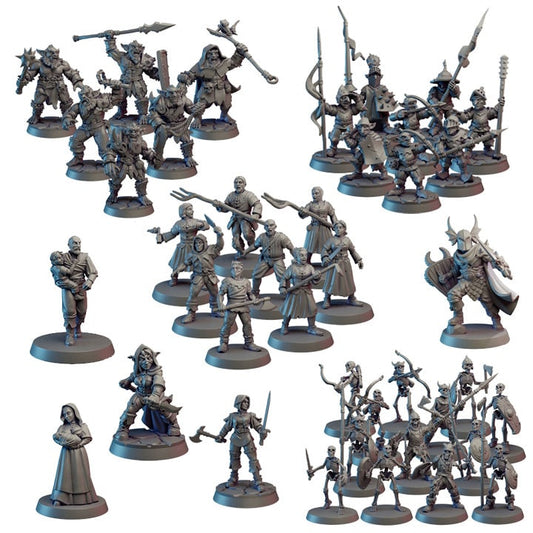
The Skeleton Army Squad by Vae Victis Miniatures offers several poses to study. Pick a figure with an exposed skull and rib cage so you can judge the bone treatment before repeating it. The featured image shows the sculpts, not a painted example of this recipe.
Establish the bone and separate the equipment
Apply the main bone color in controlled coats that preserve the sculpted gaps. Paint straps, weapons, and shields in their intended base colors before deciding how much shading the skeleton needs. Dark equipment can already create useful separation around pale hands and arms.
Try a muted shield color on your test figure. If the shield becomes the brightest area immediately, save some room for lighter accents on the face so the character still has a clear focal point.
Shade the recesses, then restore the light areas
Use the wash to darken the spaces between ribs and around joints. Check for pooling and move excess away with a clean brush before it dries. Let the wash dry fully, then bring the main bone color back onto broad exposed areas.
The Army Painter's wash guidance describes using darker recesses with lighter raised details to establish depth. For this recipe, finish with a few light-ivory touches on the brow, cheekbones, knuckles, and selected rib edges. Leaving some midtone visible keeps the result from becoming uniformly white.
Check it at playing distance
Put the miniature on the table and step back. Can you distinguish the head from the torso? Do the hands stand out against the weapon? Correct the largest unclear area before adding individual teeth or tiny scratches.
Write down the paints and the order you used. Once the test figure looks right, use our small-group batch painting workflow to repeat the process without having to reinvent the recipe for each skeleton.
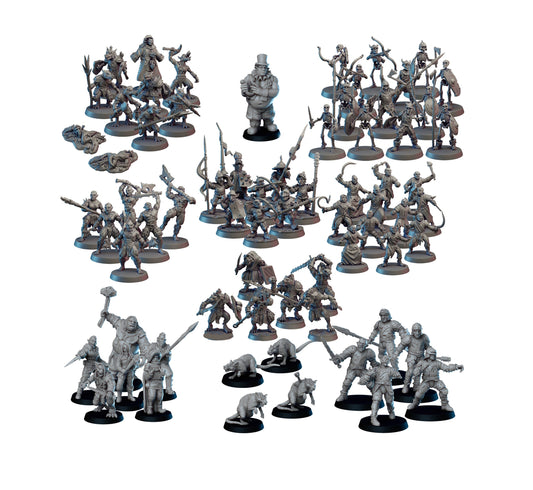
Featured image: Vae Victis Miniatures digital sculpt render from our catalog.