




Ruined walls are excellent atmosphere builders, but a crowded layout can make a game awkward. Before adding every piece of scenery, test whether players can see the important areas, reach their miniatures, and understand where they can move. A few deliberate gaps often improve the whole table.
Start with the routes
Put down the destination first: a doorway, a chest, or a meeting point. Then leave two approaches to it. One might be short and exposed; the other might bend behind a broken wall. This gives the layout a purpose before decoration fills the available space.
Use an actual miniature base to check each gap. Scale labels alone do not tell you whether a particular figure can stand in a narrow opening, especially if its pose or scenic base extends outward. Include space for the largest model you expect to use.
Mix tall boundaries with low edges
A tall wall can define the back of a room, while lower rubble suggests the front without hiding the scene from seated players. The Church Ruins Wall Set by Vae Victis Miniatures includes different wall and floor forms that can serve as a starting point for this approach.
Try placing taller pieces toward the far side of the table. Sit where the players will sit and check whether an important miniature disappears behind them. Rotate or remove a piece if it blocks more of the experience than it adds.
Agree on what the scenery means
A jagged sculpt can leave rules questions unanswered. Before play, explain whether a broken wall blocks sight, whether rubble slows movement, and whether the doorway can be crossed. Use your chosen game's rules and apply the same interpretation consistently.
A small paper outline beneath a removable wall preserves its footprint if someone needs to lift it for access. Tell the group which parts are decorative and which boundaries matter. This also helps when a miniature cannot physically fit exactly where its character stands.
Run a quick movement test
Move two opposing figures through the routes. Check whether they can pass, meet, retreat, and reach the objective without repeatedly bumping scenery. Leave a separate area for dice, cards, and drinks rather than using the most open part of the battlefield for everything.
Finish by photographing the layout from above. Note which pieces define the main paths so you can recreate it quickly next time. Add loose decorative pieces only after the playable arrangement works.
For finishing inspiration, see our stone and wood terrain painting guide. For this session, however, a clear layout is useful whether the scenery is painted or still waiting on the hobby desk.
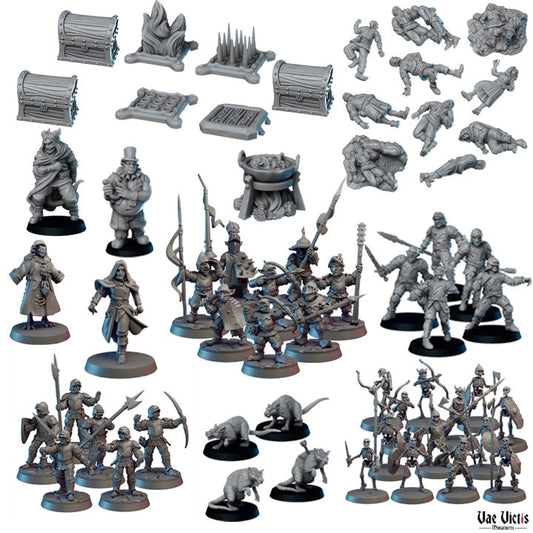
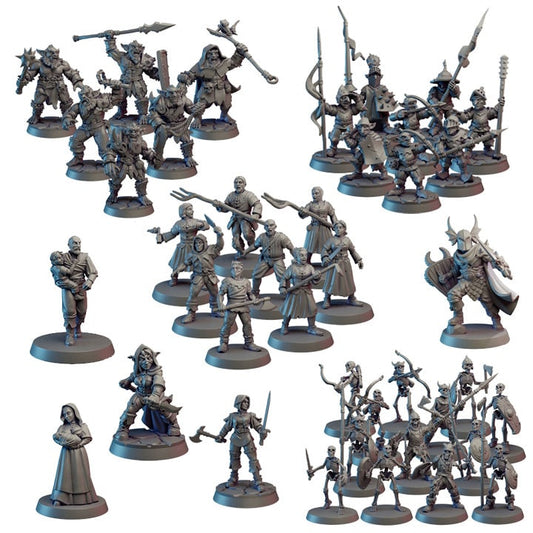
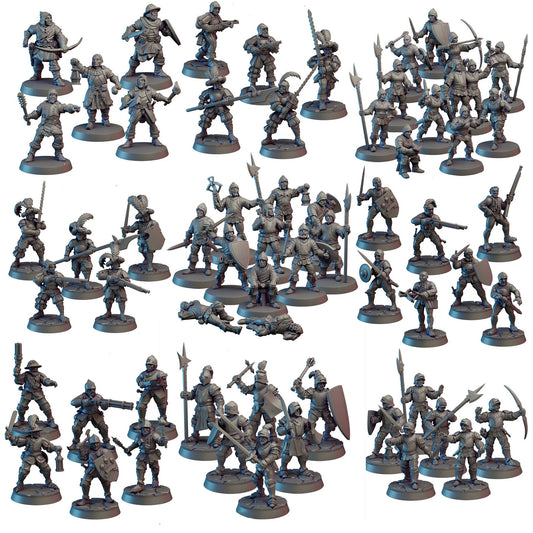
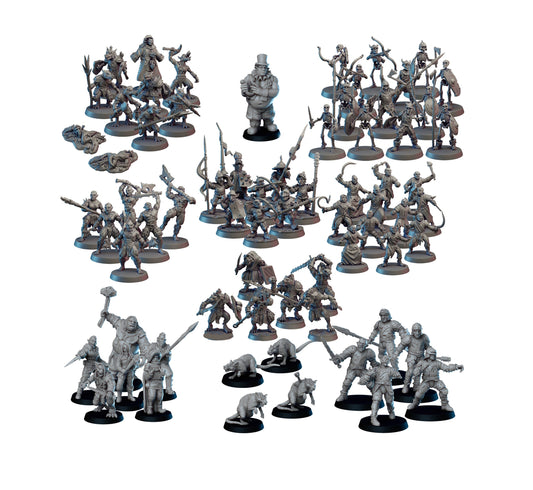
Featured image: Vae Victis Miniatures digital sculpt renders showing the Church Ruins set.