
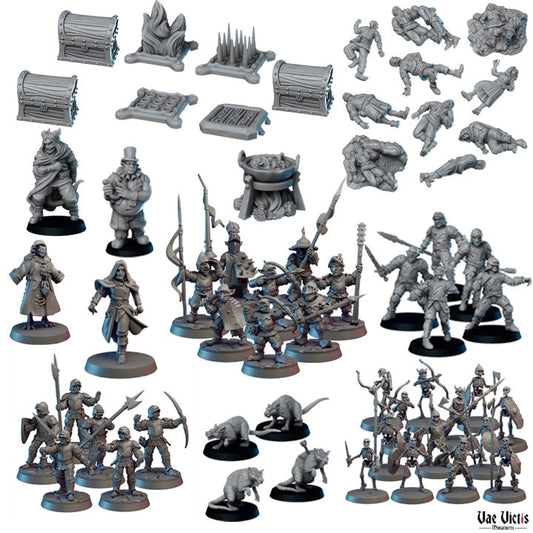




Featured image: Vae Victis wood pieces and forest scatter terrain from our catalog. The image shows the sculpted details; paint colors in this guide are suggestions.
Stone and wood often share a terrain piece: a timber door in a ruined wall, crates on cobblestones, or a wood pile beside a house. Giving those materials different colors and highlights helps the scene read clearly, even when you keep the painting simple.
Begin with a prepared surface
Check the model and complete any necessary assembly and preparation before painting. Use a primer appropriate for the model and follow its instructions. Once ready, choose one small piece as a test instead of committing an entire terrain collection to an unfamiliar recipe.
For a manageable starting project, compare the textures on our three-piece wood and forest set with the paving on our cobblestone bases. Confirm the selected scale or base dimensions separately; a base's diameter and a miniature's scale describe different things.
Try warm gray for stone
Start with a muted gray-brown base color. After it dries, use a lighter warm gray on the raised texture. Reserve your palest color for a few exposed edges. Leaving the gaps darker gives the individual stones definition without outlining every one.
To avoid a perfectly uniform pavement, pick a few stones and give them a slightly browner or cooler gray tone. Keep the change subtle at first. A scattered variation is easier to balance than a checkerboard of strongly contrasting blocks.
Try brown and tan for wood
Choose a dark brown base color, then bring up the raised grain with a middle brown. Use a small amount of tan on the most prominent texture and exposed ends. Paint metal bands or tools separately so they remain distinct from the timber.
For older wood, experiment with a gray-brown highlight on the test piece. For a warmer appearance, try a muted ochre-brown. These are starting palettes, not fixed rules: compare the result with the rest of your tabletop before repeating it.
Keep drybrushing controlled
Drybrushing uses very little paint and a light touch to pick out raised details. Remove excess paint from the brush, test the result, then build the highlight gradually across the texture. Let the underlying paint dry first. The Army Painter's drybrushing introduction explains the technique and why it suits textured surfaces.
If too much pale paint covers the test piece, return to a smaller amount on the brush rather than adding more colors immediately. Keep one finished sample nearby as you work through matching terrain.
Make a recipe you can repeat
- Record the base, middle and highlight paint names.
- Note which areas stay dark, such as paving gaps or deep wood grain.
- Photograph the test piece beside your existing scenery.
- Repeat the recipe on a small group before expanding the project.
Explore bases and basing pieces for smaller practice projects, or terrain and scenery for your next scene. Our palette planning guide can help tie the finished pieces together.