




An unpainted miniature is the beginning of your version of the character. The sculpt provides the shapes; your colors decide whether it belongs in a cheerful village, a muddy dungeon, or a particularly unpleasant sewer.
Before opening every paint pot, give the model a short preparation session. Checking the pieces and planning the assembly makes the first brushstroke much easier to enjoy.
Know what the listing is showing
PrintedByAliens miniatures arrive unpainted. Product imagery may be a digital render, so use the description and selected options to confirm the material, contents, scale, and base choice. A scenic base in an image is not a substitute for checking the option in your order.
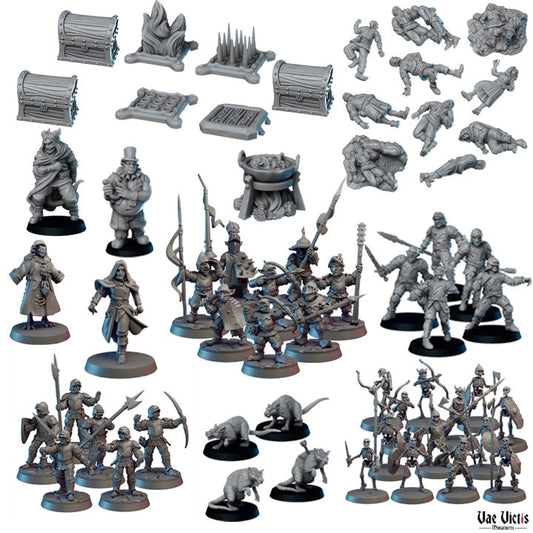
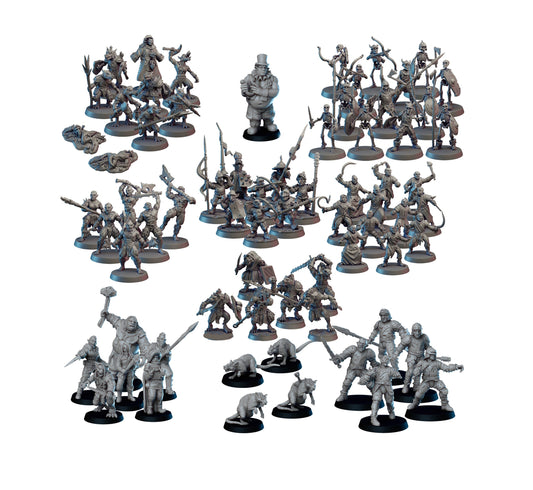
Look for assembly notes as well. Our Giant Rats by Vae Victis Miniatures, for instance, have single-model and full-set choices, and the listing states that the base comes separately and needs gluing.
Unpack onto a clear workspace
Open the package over a tray or an uncluttered desk. Keep the packing material until you have found the small parts and checked the contents against your order.
Handle pieces by a broad, sturdy area where possible. Give projecting weapons, tails, and other thin details room rather than pulling on them to free a model from its wrapping. If a piece is missing or damaged, take a clear photo and contact us before trying to repair or modify it.
Plan the assembly before applying glue
Lay out each model's parts together. Gently test how they meet without adhesive, following any supplied instructions. Check which way the figure faces on its base and whether its pose leaves room for neighboring models.
Think about paint access, too. If attaching a shield would block a large area of the torso, you may prefer to paint those components separately where the assembly allows it. Choose an adhesive explicitly suitable for resin, follow its directions, and let joints set fully before handling them.
Give the paint a suitable surface
Check for dust before priming and follow the care guidance for the model. Choose a hobby primer labeled for resin miniatures. The Army Painter's primer guidance explains how primer helps paint adhere and how the starting color affects later layers.
Follow the primer manufacturer's preparation, application, ventilation, and drying instructions. Use a thin, even application that preserves small sculpted details. A brush-on product suitable for resin is an option if that better fits your workspace.
Make the first painting session small
Pick one model and a limited palette: perhaps a main body color, a contrasting detail, and a base color. Keep a note of the paints you use so another figure can join the group later.
Decide what “ready for game night” means before starting. A consistent color scheme and a finished base can give a group of simple models a shared identity. Extra highlights and tiny decorative details can become a later project.
Allow time for production and shipping before planning assembly and painting around a particular event. If you are still choosing your models, our starter-set guide can help you pick a manageable first group.
Featured image: digital product render of Giant Rats by Vae Victis Miniatures. It is not a photograph of painted models; contents depend on the selected option.